
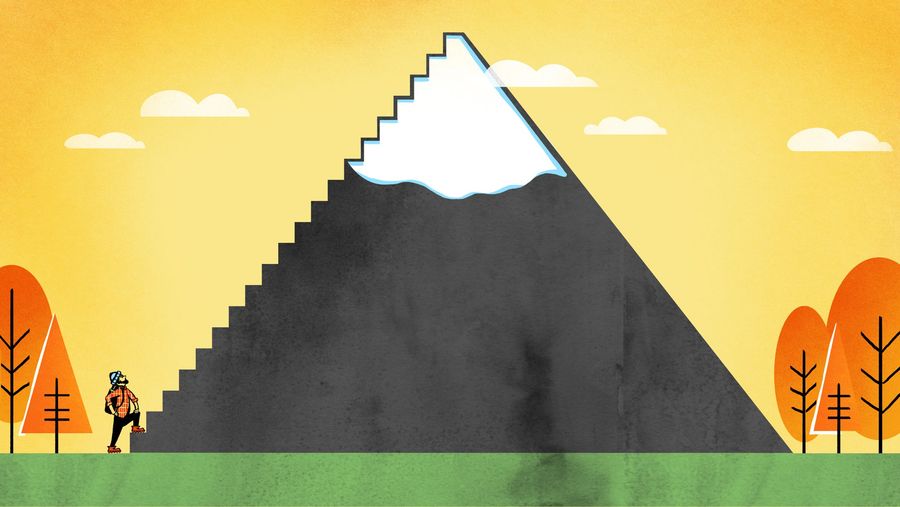
How To Climb A Goddamn Mountain

In 1924, when the New York Times asked George Mallory why he was going to make his third attempt to scale Everest, he infamously, if apocryphally, answered, “Because it’s there.” It’s a fantastic reason to climb a mountain, pithy and cavalier, the kind of thing every man wishes would be inscribed on his tombstone.
The rest of us climb mountains because we’re looking a little pale and a little paunchy, and we might consider filling the bright hours between slumber and supper with something that will allow us to live past the age of 37—unlike Mallory, who died, on Everest.
And why not? It’s the perfect time of year for an activity that is mostly just walking and looking at trees. It’s a much-needed chance to get off the grid for a few hours, take a few eminently Instagram-able snaps, and spend the next week casually mentioning how Sporting you are. So with that in mind, let’s see if we can get you from Point A to Point B and back without having to call in the Rescue Rangers.
Plan Your Route
Hiking is a good time, but if you wander into the woods without a plan, you’re going to have a bad time. First, pick a hike that’s nearby and your speed. There are many websites for this: EveryTrail and AllTrails are good nationwide research options, but your State Parks Department or mountaineering club may offer more detail. If you haven’t hiked in a while or get winded after three steps, you may want to pick something relatively flat or relatively short to start. Mountain miles add up fast, and you’ve got to cover that whole distance again if you turn around. That said, the best views and coolest stories are at the top of the big ones, so maybe consider showing some goddamned grit for once.
Once you’ve found a hike you like, you should familiarize yourself with the route and length, grab a hard copy of the map, Google the weather, and pack a bag.
Bring The Right Gear
The wilderness is literally defined by its paucity of convenience stores, so most of what you need you’ve got to bring in with you. For day hikes, you have some flexibility, but when you’re on the side of a mountain with a rolled ankle, night closing in, and thunder in the distance, you’ll want that ounce of prevention. The basic things you’ll need for a hike are proper clothing, footwear, food, water, something to navigate with, and basic first-aid supplies.
Shoes and socks: Assuming you’re going on a day hike, wear weather-appropriate comfortable athletic clothes, plus a light insulating layer (it’s colder at the top) and waterproof shell (it’s a lot colder at the top if you’re wet). For shoes and socks, I recommend you do a little independent homework, but I picked up a pair of Vasque St. Elias GTXs at the beginning of the summer, because OutdoorGearLab rated them highly, and I like Darn Tough Socks because they’re made in my Green Mountains.
I say do research on your shoes and socks, because whatever else happens on a hike, you get there and back on your feet. A rolled ankle, blistered heel, or pinched toes are uncomfortable at home, but on the side of a mountain they are a special kind of hell.
Lots of water: Hiking can make you sweaty and thirsty, and that cool mountain brook is remarkably full of Giardia. Dehydration risk is real, and when you’re scooting back down a mountain, fatigue and dizziness can lead to much more severe problems. I am a thirsty bastard, so I bring at least three to four liters with me. That’s a heavy bit of water at the start, but a full bottle at the top is better than a light pack at the bottom.
The bag itself: You’ll probably want to put that water in a pack. Osprey makes pretty nice ones, as does Deuter. Don’t buy too much pack or you’ll be tempted to overfill it, so start small. After you’ve put water and a couple clothing layers in there, though, I’d recommend a few extra basics. For navigation, a topographical map (laminated is better) and compass are more reliable than your phone’s GPS. Sunscreen and bug spray do the jobs their names describe. I also always bring a flashlight, a lighter, and a knife. Light and fire are handy things to have in an emergency, and knives are great. Finally, bandanas work as everything from sweat rags to placemats to bandages. Bring a couple with you.
With that as a short list, I’d reiterate that you don’t want to overpack. REI’s day-hiking checklist is more than 70 items, which is insane. Everything you carry, you carry on your back. A helmet cam and three types of shoes is going to weigh on you, and you still need room for what’s most important.
Stay Nourished
You’re going to burn a lot of calories getting up to the mountain. You should re-stock them by eating things that would make you hate yourself at sea level. Cured meats, hard cheese, a loaf of bread, a jar of good jam, and some chocolate have been staples of Alpine shepherds, mountaineers, and old-timey soldiers for a reason: They’re durable, calorie-dense, snackable, and collectively provide a mixture of protein, fat, and carbohydrates that can keep you running almost indefinitely. If you opt for the scenic mountaintop picnic, know that you’re gonna get cold: No cover, no movement, and all your blood going to your stomach make lunch a good time to put on your jacket.
First Aid and Emergency Prep
Make it a point, before you hike or just in life, to learn a little basic first aid. It’s one of those things that’s better to have and not need than need and not have.
This is not a first-aid course, so here’s my rule of thumb: There are four types of problems you can have on a mountain: Fatal, Disastrous, Impeding, and Annoying.
Fatal is clearly anything that’s going to kill you. Disastrous is when someone is going to have to come onto the mountain to get you to a hospital. Impeding is going to mean you have to turn around and have a tough walk back. Annoying is something that lets you keep going. The goal of first-aid should be to try to turn fatal events into disastrous ones, disastrous events into impeding ones, and impeding ones into annoyances.
Fatal to disastrous is where you need a better expert than me. Learn basic CPR and how to staunch blood loss at a minimum, and never move anyone with a back or neck injury. Broken bones or ligament injuries will probably require actual help, but an ACE bandage and Ibuprofen can make a sprain walkable, for a time. Fortunately, the vast majority of annoyances are minor: Blisters, bug bites, bruises, scrapes, and cuts are common, but some Neosporin and a bandage should get you home.
Alongside first aid, there are a few precautions you should take in case to hedge your risk of getting lost. Tell people you’re going hiking, where, and how long it should take. Sign in at the book on the trailhead. Try to move marker to marker, and if you’re in an unfamiliar territory, consider a GPS. If you get lost, adhere to STOP: Stop, Think, Observe, Plan. If you can orient yourself to a landmark, consult your map and return to the trail. If you can’t, make a hell of a lot of noise. Embarrassment beats a night alone in the woods. If the conditions make it so you can’t stay and wait for help, or you know civilization is pretty close at hand, follow running water downhill, as it tends to meet roads eventually (thanks Lost on a Mountain in Maine!).
Alright, “Don’t Die” section concluded.
The Actual Hiking Part
There are two things I would recommend before every hike, if possible. The first is leave an hour or two earlier than you think you need to—you’re always a little late anyway, and that cushion is handy. Second is to see if there is a park ranger/employee at the trailhead, as they can usually provide details the map cannot and answer any questions you may have.
There are also some basic trail manners you should be aware of: It’s polite to nod to people you pass to let them know you’re not a deranged cannibal, don’t litter or go to the bathroom on the trail, and basically don’t mess with stuff you see. As they say in the Scouts: Leave only footprints, take only memories.
After that, it’s more or less walking in style, and your job is to live to tell the tale. Keep a steady pace, drink lots of water, try to maintain two points of contact with any rock face you’re scrambling up, and check your map. Take in some nature on the way up, take a picture at the top, and take off your boots at the bottom. Hell of a way to spend a Saturday.
Samuel Wadhams grew up hard in Vermont and now grows soft in New York. He is not an expert on anything. Occasionally, he tweets here.
Illustration by Tara Jacoby.
Adequate Man is Deadspin’s new self-improvement blog, dedicated to making you just good enough at everything. Suggestions for future topics are welcome below.
Related


Three MLB Teams Facing Regression in 2026

Best NBA Bets Today: Wednesday Predictions and Player Props


MLB Opening Day Wednesday Pick: Yankees vs. Giants Best Bets


NBA Predictions Today: Expert Picks for March 24th Games
- NBA Predictions Today: Expert Picks for March 24th Games
- Two Best Longshot Bets to Win the 2026 World Series
- NCAA Tournament Predictions: Why Favorites Should Hold Strong on Sunday
- March Madness Sunday Bets: Texas Tech, Tennessee
- UFC London Betting Picks: Best Plays for Fight Night
- Best March Madness Saturday Picks: Arkansas vs. High Point, Vanderbilt ML
- Akron vs Texas Tech, Clemson vs Iowa: Best Bets for Friday
