
How To Survive Backpacking In The Wilderness

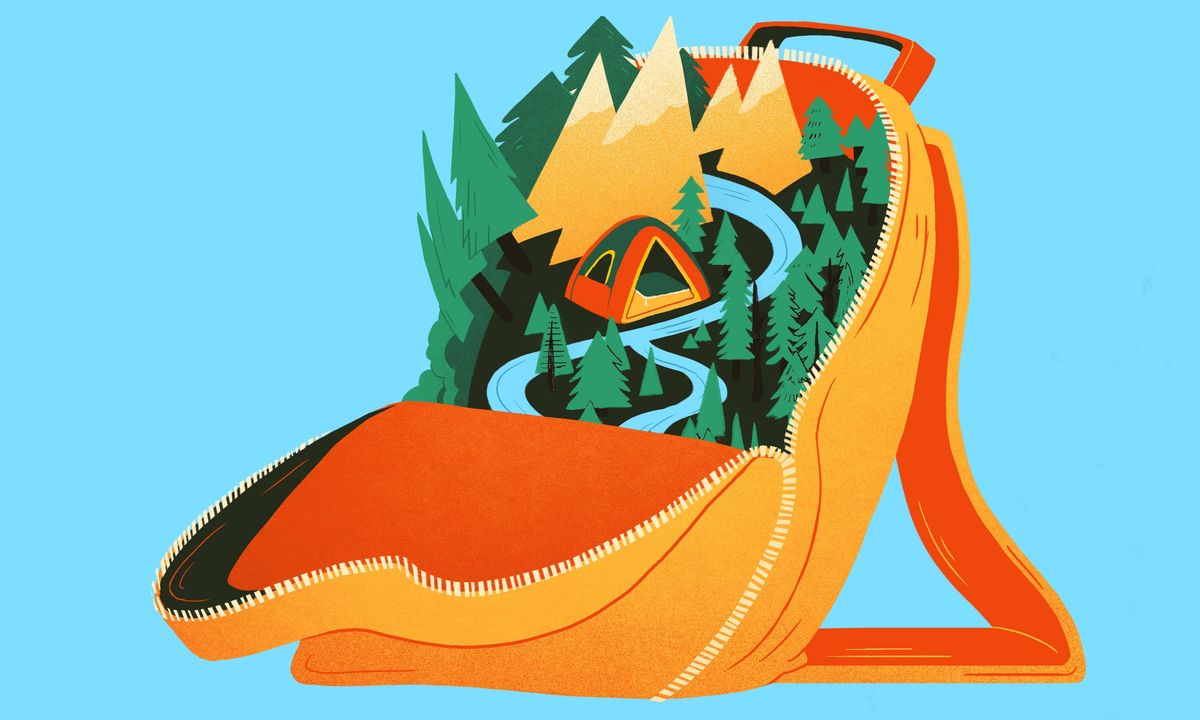 credits: Angelica Alzona | source: GMG
 Despite the parade of nor’easters that have recently struck the East Coast, spring has officially arrived, and with it comes the promise of camping and backpacking trips. But before you set out on your first backpacking trip of the season, let’s review the gear you should be packing and what condition that gear should be in.
Outdoor gear can be a major investment and, crucial to a city dweller, outdoor gear can take up a lot of space in your apartment. If you don’t own a tent or heavyweight backpack you can relax. You very likely have a cool friend who enjoys the wilderness and will likely invite you on a trip and share their equipment if you’re politely inquisitive.
Running low on outdoors-y friends? Fret not, companies like REI, EMS, and a plethora of online gear companies offer rental options. The good thing about renting gear such as a backpack, tent, or camp stove is that it affords you an opportunity to see if you actually, y’know, enjoy camping and the outdoors. Of course you can’t rent everything (see: long underwear), but renting the big-ticket items can be a great option for a newbie. So what all should you pack and or own? Let’s discuss.
You’ll need an actual backpack rather than a chic daypack or messenger bag. For multi-day trips you should expect to be carrying a minimum of 23-28 pounds of gear on your back. That 23-28 pounds will vary quite a bit depending on how long your trip is and what your personal backpacking style is—Joe “Stringbean” McConaughy, the record-holder for the fastest known thru-hike of the Appalachian Trail would scoff at the notion of a 23-pound pack, you are not Joe McConaughy—but it will include: your tent, sleeping bag, sleeping pad, food, cooking stove, and other gear.
Something that cannot be overemphasized for beginners: on multi-day backpacking trips, it can be a little intimidating to carry that much weight on your shoulders and back. Plus, discovering that you shouldn’t have packed all that extra gear is very frustrating on hour four of the first day of an eight-day backpacking trip. Solution: test your backpack filled with what approximates the weight of your gear and go on a shorter hike to see how your body will respond. It’ll help not only determine a baseline for your backpacking fitness, but can also help you get more confident with your equipment as you learn how your body moves with that extra weight.
Something else that can’t be overemphasized for beginners: comfort is king when it comes to backpacks. You’ll be carrying that thing literally on your back (hence: “backpack”) and you want that bad boy to ride comfy. Test out different brands and see what works for you. Don’t be afraid to ask for advice in store from the clerks. Whether renting or buying, it pays to find something that works for you. I use a Mountainsmith Lariat backpack for most of my longer trips, but reputable brands of all sizes should have something that works for you and your lumbar system.
The first thing you should be thinking about putting in that backpack? A tent. Just like your normal home, you’re going to want to keep your tent clean, tidy and organized. A great way to stay organized is to use stuff-it sacks (plastic shopping bags work in a pinch). I typically carry three with me on a backpacking trip or just a weekend car camping trip. One for clean clothes, one for dirty clothes, and the third for food and cooking gear.
Do NOT keep your food or cooking gear in the tent. Critters of all stripes (raccoons/skunks) and sizes (bears/larger bears) love food and have yet to learn the civilizing notion of knocking before shredding open a tent flap. Hang your food sack from a tree that’s, ohh, 20 yards minimum from your tent.
When shopping for a tent keep it simple and lightweight, Grizzly Adams. Tents should not be super-fancy or complicated. You want this thing to be able to be set up within minutes, particularly if it’s pouring rain. Just as it’s recommended that you try your backpack, practice setting up your tent or rental tent in a local park before your trip. You’ll appreciate a little familiarity and practice once you’re out there.
If you have a tent that’s getting a little ragged, go ahead and give it a thorough and careful washing with a sponge and some soapy water. Dish soap works in a pinch, and niche outdoors company Nikwax makes a tech-fabric-specific detergent that’s perfect for rain flys. Pay particular attention to your rain fly as it is what’s absorbing the sun’s ultraviolet rays, to say nothing of fending off precipitation of all sorts. Over the course of years of use, UV rays can harm many fabrics. A tent’s nylon is no different and you should be mindful of sun damage.Once night’s fallen and the camp fire’s embers are dying down, you’ll inevitably find yourself thinking of that cozy tent and your sleeping bag. If you’re in the lower 48 and planning on camping in the spring, summer, or fall then a three-season sleeping bag (rated down to 30ºF) should be all the warmth you’ll need. Do you get cold easily? Remember that it gets cooler at night out in the country than a city. Pack a pair of long johns to sleep in and a toasty stocking cap. You’ll also want a pillow. I typically just use my sleeping bag’s pack sack and cram my thermal vest, windbreaker, towel, and other clothes into it for an improvised pillow, because I’m that guy when it comes to keeping pack weight down. If you prefer actual pillows look for something that’s inflatable. Big Agnes, Nemo, and Sea To Summit all make good ones.Next up for your backpack should be a sleeping pad. Stop smirking, tough guy. Modern sleeping pads are incredibly lightweight, packable, and comfortable. The modest creature comfort of a cozy place to lie down after a day of hiking versus cold, rocky ground cannot be overstated. More importantly, they afford you a degree of insulation from that cold and rocky ground as well. Pack one.Medical kits, compasses, and maps are important to pack, and to know how to use. Seriously, take the time to learn how to use these. I’m wilderness first-aid certified by NOLS, and while you don’t need that, a med kit is invaluable for everything from minor cuts and scratches to sprains and dislocations. Plus, they’re also dirt-cheap (like $40) compared with the expense of an ER visit to treat an infected knife cut because you didn’t have bandages and antibacterial cream. Similarly, don’t forget to pack a travel bottle of hand sanitizer and some toilet paper for when nature calls.
For compasses and maps (or, heck, medical kits) if you’re not sure where to start, ask a more experienced outdoors friend to show you how to use them before your trip. Knowing how to orient yourself with a compass, “Oh, there’s magnetic north,” will help you if you get a little turned around and need to consult the map. Like med kits, a decent compass and map set will cost a lot less than a search and rescue effort.
Maps-wise, find a good topographic map of the area you’ll be hiking through that shows elevation, water sources, and areas that might be tricky to navigate. Are you going to get lost? Probably not, but having a good map and knowing how to use a compass can help you get “unlost” if the worst-case scenario occurs.Now the fun stuff: Let’s talk food! Going car camping means having so many more snacks at your disposal than backpacking, but for this post we’re talking backpacking, so get ready for dehydrated goodies.
For starters, you’ll be burning more calories on the trail. Remember, you’ll be hiking miles per day across uneven terrain with a decent amount of extra weight on your back. Calorie-dense food are your friends.
For breakfast I usually heat up some water in my JetBoil stove—if you want to save more weight/bucks you can make a nice alcohol stove out of a Foster’s can—and pour it over some instant coffee in my titanium mug. I’m partial to Starbucks’ Via, which tastes surprisingly great. On top of the cup ‘o joe, I’ll eat some Pop-Tarts and make some instant oats in the coffee mug (after the coffee is done, natch).
Lunch will usually entail some peanut butter out of a jar or spread on a tortilla, some sort of animal (vacuum-sealed salmon, tins of anchovies, whatever you like) or vegetable protein wrapped in a tortilla or two, some trail mix, likely an energy bar, and so on.
Dinner will typically consist of a dehydrated meal. Chili, rice and beans, mac ‘n cheese, Thai curry, bibimbap, they’re all there. Honestly, the market for dehydrated and camp-ready foods has greatly expanded in the past 10 years and it’s a damn godsend. Have a gluten intolerance? Are you a vegan? There will be a freeze-dried entree ready to suit your dietary restrictions/needs. Good-To-Go, Patagonia, and Mary Jane’s Farm all make very delicious, calorie-dense, lightweight and freeze-dried meals (I’m partial to Good-To-Go’s three-bean chili and adding some slices of cured salami or sausage).
Bottom line, you should be consuming about 3,000-4,000 calories a day. I’m a slightly larger-than-average dude and I try to hit 3,500 calories/day when I’m hiking. Nobody knows your metabolic and caloric needs like you do, so plan accordingly. Just remember: Avoid heavy canned goods. In that same vein, leave the beer for car camping. I once packed a sixer on a three-day trip in the beautiful Manistee National Forest. Suffice to say, my buddy and I made sure to drink all six the first night to simply avoid the burden of me schlepping them the next day. Still want to tipple something around the campfire? A little whiskey goes further than lots of beer.
If you’re backpacking you should be prepared to filter your own water. Pack a water filter system if you like not having water-borne parasites, viruses, or bacteria living within you. Katadyn, Sawyer, Platypus and MSR all make exceptional filtration systems. Be prepared for an investment. These things don’t come all that cheaply, but for the bargain-minded, Sawyer’s Squeeze system is new, affordable, and revolutionarily lightweight and effective. Boiling water is a fine method as well, the catch there is A) you’re burning a lot of stove fuel and B) you have to be reasonably familiar with the water’s source before boiling. Cloudy water is still cloudy and filthy to drink, even if it’s been boiled.
One last thing food-related: Pack a gallon-sized sealable freezer bag to properly carry out empty containers and food waste. Leave no trace, folks. When you leave your campsite make sure it is cleaner than when you found it.
Finally, there are some crucial and miscellaneous items you should pack. Headlamps, bug spray, seasonally appropriate clothing, ball cap, sunscreen, water bottle, a good knife, and maybe a folding saw for collecting deadfall for firewood. These are all extremely valuable in the outdoors. Remember, you’re outdoors and that means there’s no light switch once the sun goes down. Your headlamp is all you’ve got and you should keep it happy with fresh batteries. Pack a raincoat no matter the forecast, because you can’t just “run inside” to grab one. Is your rain jacket a little less water-proof than it used to be? Get some Nikwax, wash it, and re-waterproof it. Do you really dislike bug spray? Look into treating your clothes with a spray-on treatment of permethrin.
And that’s that. The gear you need for a kick-ass backpacking trip or three, now that spring has sprung and the nor’easters have (hopefully) stopped for the season.
Related


- Top MLB Props and Picks for Saturday May 30th's Biggest Matchups
- MLB Betting Picks for Friday, May 29: Phillies and Marlins Featured
- UFC Macau Best Bets and Fight Predictions for May 30
- MLB Picks Today: Best Pitcher Props for Friday’s Baseball Slate
- Top MLB Picks for Thursday: May 28 Baseball Betting Predictions and Props
- MLB Betting Picks for Wednesday: Two Totals for May 27 Slate
- MLB Picks and Predictions: Why Chase Burns and the Nationals Offer Betting Value
